
 |
Model Rocket Motor Ramming Tool |  |
 |
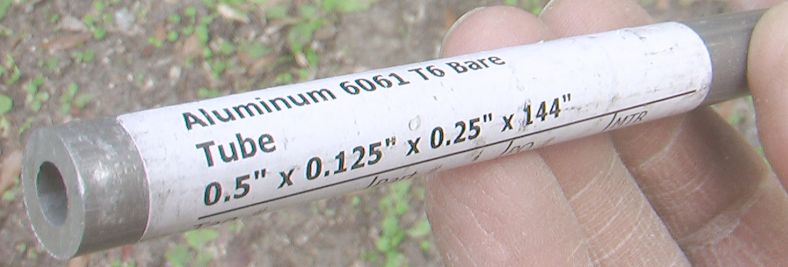
1. Tube. The rammer project starts with ordering tube. Here is a link: 0.5" OD x 0.125" WALL x 0.25" ID 6061 T6 TUBE This tube came from Online Metals where it cost $6.00 per linear foot as of yesterday. One foot will make two rammers. As you can see, it is 1/2 inch outside diameter, 1/4th inch inside diameter, which leaves 1/8th inch thickness for the walls. There is a light imprint on the tubing itself: "Kaiser Aluminum, Chandler, AZ" This will be used to ram nozzles in a rocket motor casing of 1/2 inch inside diameter. The nozzle throat will be 1/4th diameter. |
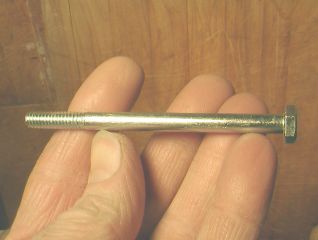 |
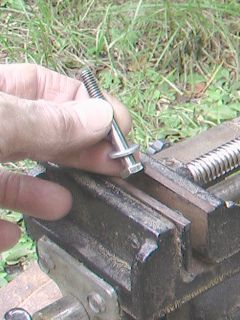
2. 1/4th inch steel screw, 3-1/2 inches long. The last 7/8th inch is
threaded, the rest of the shank is smooth. I will cut off the
threaded part and discard it. OK, I'll put it in a jar with the
delusion that I'll use it for something, someday. But I won't use
it on this nozzle rammer. It doesn't need it. |
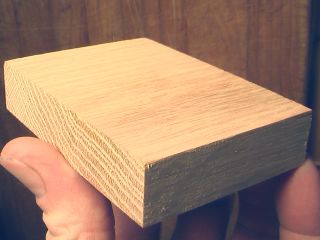 |
3. Wood block. I like a nice piece of maple, oak, or other good hardwood. But a sturdy softwood should do OK too, provided it can stand being whacked with a mallet a few thousand times. |
 |
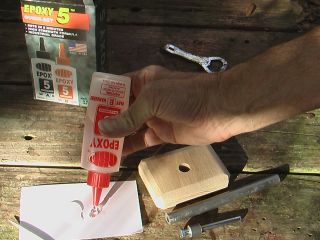
4. Epoxy. This is needed to glue parts 1, 2, and 3 together. I've found 5-minute epoxy to be adequate for this purpose, but slower epoxy should be sturdier, and is preferred. |
 |
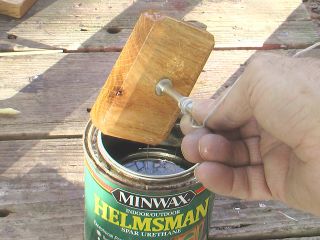
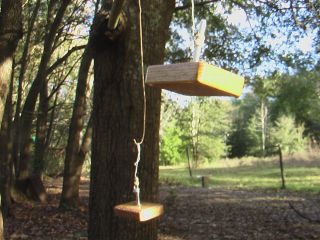
5. Varnish, to make the wood pretty and protect it. Alternatively, you could spread the whole thing with epoxy, but it's hard to get a smooth finish that way. I use Minwax polyurethane, but any good varnish should do. |
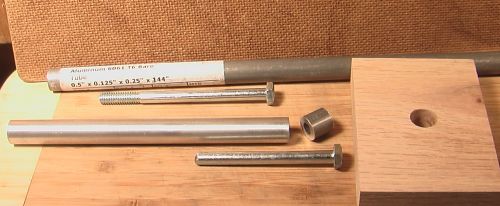 |
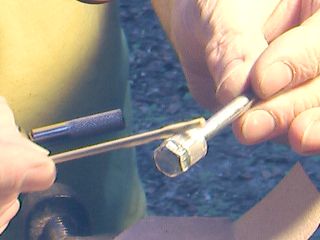
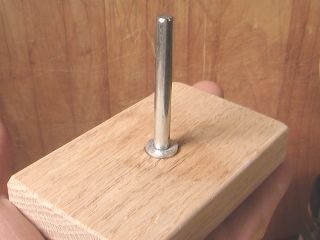
Here is the collection again. Unmodified aluminum tube and screw
at top, cut and polished versions below. Wood block has been
drilled with 1/2 inch diameter hole. The procedure includes cutting off a 1/2 inch section of the aluminum tube. |

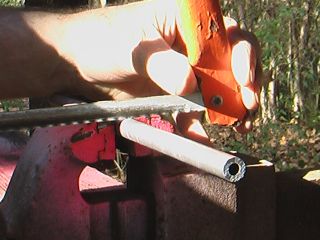 |
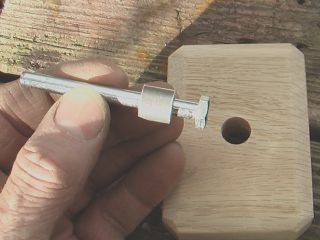
I ordered the tubing in 1-foot sections. Here I'm cutting a section in half to yield two 6-inch pieces. Each piece will make one ramming tool. |
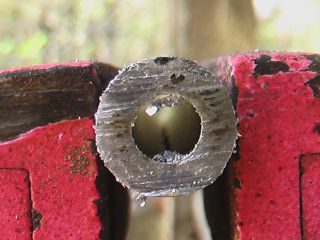 |
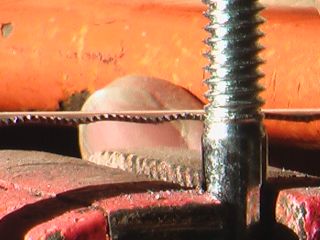
The hacksaw is aptly named. It leaves the end of the tube rough
and not flat. Gotta fix that. We need flat, smooth
ends on both of the ramming faces. |
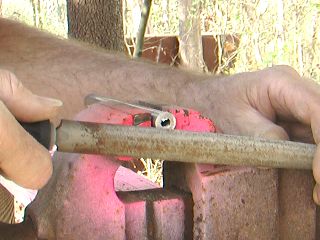 |
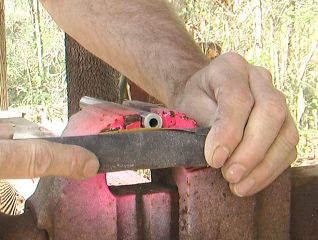
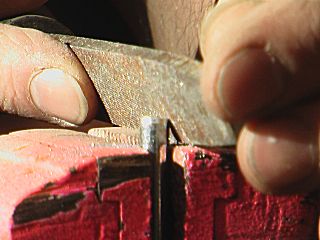
A flat file is used to square up the end and smooth it somewhat. Critical observers may note that this is actually a half-round file. Astute observers will realize that "half round" means that one side is flat. Wise observers will understand that since you can see the round side, I must be using the flat side. After a few minutes filing, the end looks a lot better. Flat, but still not very smooth. |
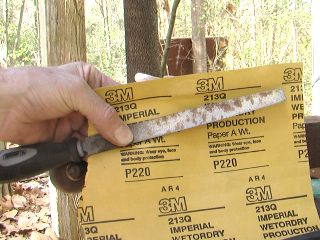  |
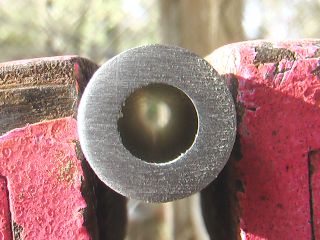
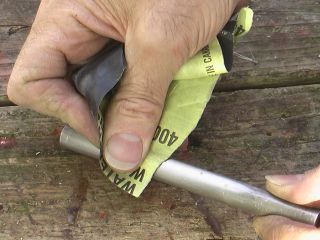
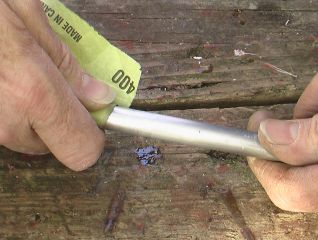
For greater smoothness, wrap the file with fine wet-or-dry paper. I recommend 220 or 320 grit for this purpose. Use the sandpaper-wrapped file to sand the end of the tube. This will smooth it considerably. |
 |
While you are sanding, be sure to go around the edge to remove any burr left by the sawing and filing. If you wish, sand it again with finer paper. Here I've used 600 grit to get it fairly smooth. |
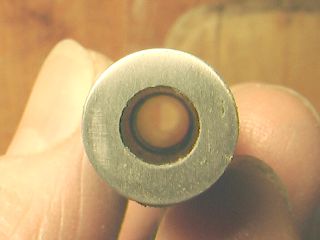 |
We could go on to finer and finer papers until the face has a mirror
finish, but that is unnecessary for this purpose. The 220-grit
finish is good enough. |
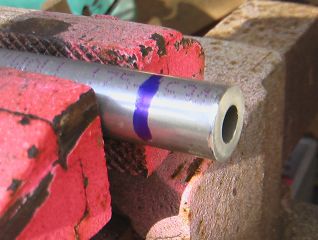 |
The tube is relocated in the vise so that we have a good shot at the next mark, 1/2 inch from the smoothed end. This will be our next cut. |
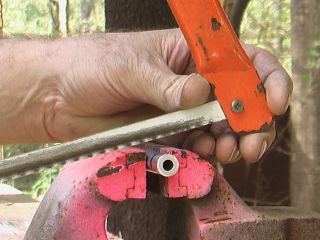 |
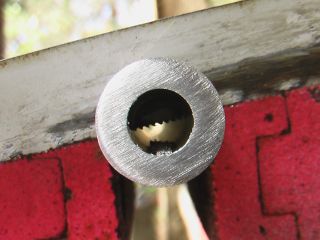 |
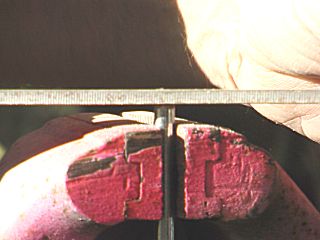
So cutting proceeds, slowly and carefully, as straight and
flat as possible, to minimize the amount of filing that will be
needed later. |
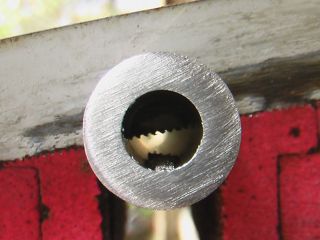 |
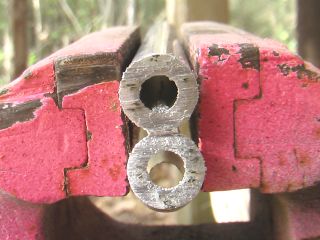 |
So now we have two more rough cut ends to deal with. But only one of
them needs to be "nice." The other end will be buried in the block, anchored with epoxy, where only the maker will know how ugly it is. Therein lies the rub. I'm the maker. I'll know it. So I'm compelled to make both ends "nice." Darn. |
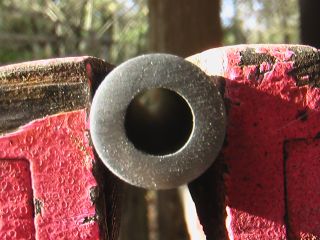 |
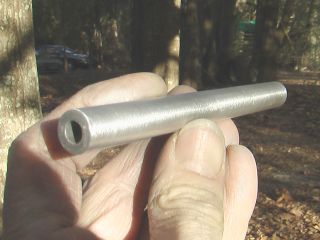
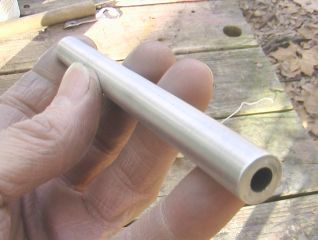
So these ends get the treatment too. Here is another shiny one; The lighting gives us a clue that the filing and sanding has resulted in a slight "crown" or convex surface. That's OK. In fact, I think that might be a good thing, as opposed to a perfectly-flat end. |
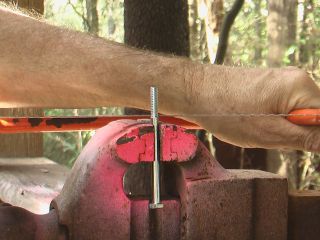
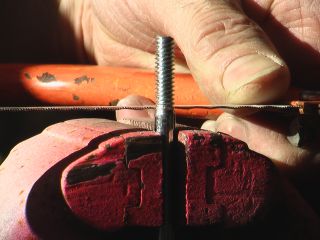
 |
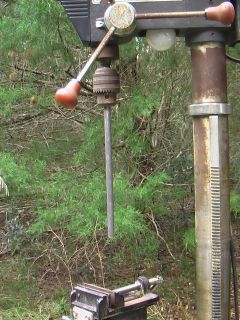
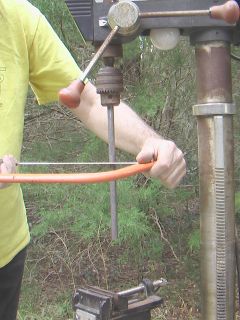
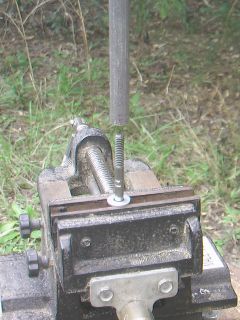
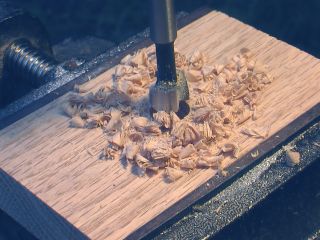
The Drill Press Alternative The drill press is optional. But very useful. |
