
Longer Burn Time
Delayed Titanium


|
Moonburner Grains Longer Burn Time Delayed Titanium |

|
|
I took a cylindrical slug of warm propellant with
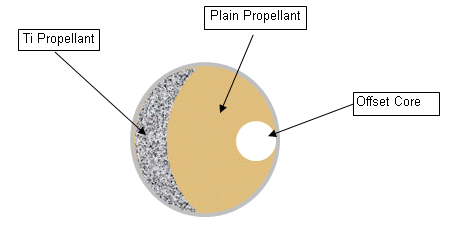
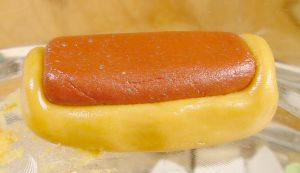
1% RIO and 10% Ti, and pressed it into a larger slug of plain propellant.
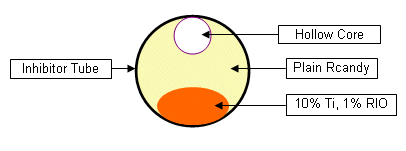
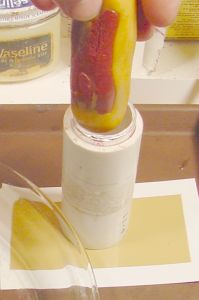
The dual slug was rolled into a rough cylinder, reheated to soften, and packed into a 38mm inhibitor tube which had been coated on the inside with 5-minute epoxy. A 3/8ths inch wooden dowel was pressed down the side of the mold opposite the Ti/RIO propellant to create the "core." |
|
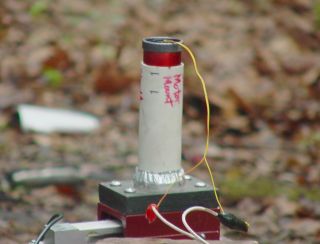
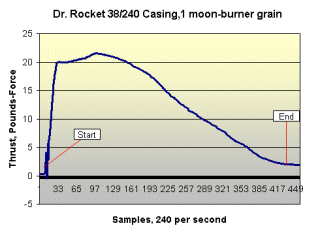
Click Here to see an analysis and video of this test |
|
This technique worked OK, but there was very little
Ti delay. I think because the Ti slug comes too close to the ends.
It became very challenging to make longer grains. The warm slug of propellant wants to stretch, even at this size. The thought of sniggling a bigger one into a 38-360 inhibitor tube did not appeal to me. |
|
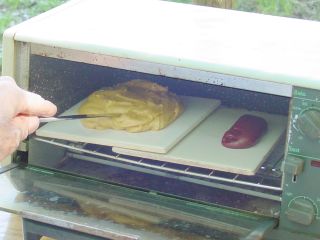
My goal: To make a 54mm moon-burning grain
with delayed Ti entry. Two flavors of propellant are heating up. The left blob is about 300g plain rcandy The smaller red blob on the right is 50g of the same stuff, but with 10 percent fine Ti flakes and 1 percent Fe2O3 added. The iron oxide is there primarily for show, so that the difference between the propellants will show up well in the photos. But it may serve another purpose, to make the tail-off a little quicker and thus the last part of the burn more efficient. Whether it does so is yet to be determined. |
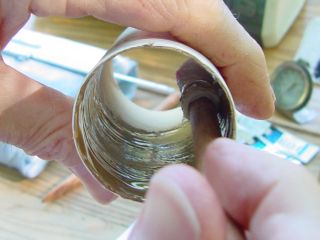
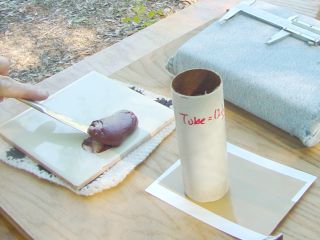
| The inhibitor tube is painted with 5-minute epoxy.
This is to ensure that the propellant sticks to the inhibitor. By
itself, rcandy tends to stick where you don't want it, and not stick where
you do. The glue helps us counter Murphy's law. Here I have cut a section of 54mm inhibitor tubing from Loki, and it is 5 inches in length
|
|
|
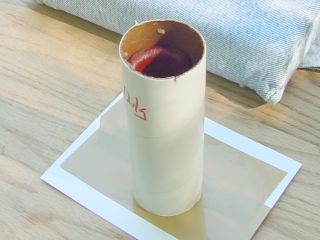
Tube is stood upright on a piece of cardboard
with plastic tape on it. Another way to evade Murphy, as neither epoxy
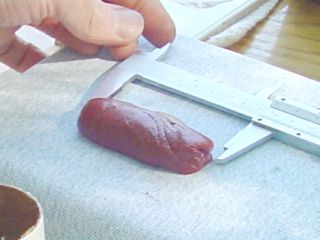
nor rcandy will stick to this plastic. But first, I measure it to get the length about right. There should be a web-thickness gap at either end of the tube, so I make this slug 3 inches long. Hmmm. Now that I think about it, that's a little too short. I'll use it anyway. |
|
|
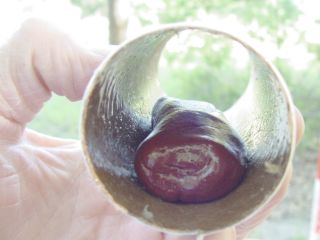
The slug is slid inside the tube, and pressed
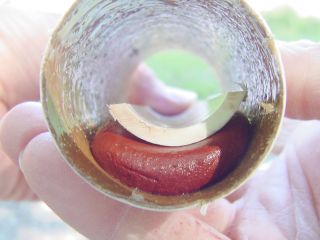
down firmly with a section of PVC pipe. I've used wooden dowels for this purpose too. It occurs to me that a flat presser might be good, to make a shallow "D" grain here. The propellant is pushed back from the ends of the tube a little, to ensure a web-thickness gap. |
|
|
Stood on end again, I now notice that the red
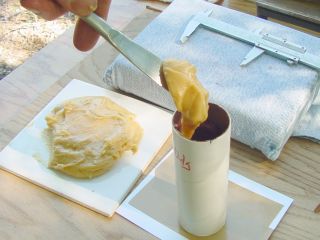
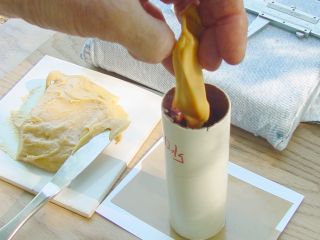
wedge is too close to the end of the tube. Oh well, It's history now... this grain might start spewing a small amount of Ti early in the burn. We shall see. A glob of plain propellant is dropped into the tube and pressed down to the bottom with a dowel. |
|
|
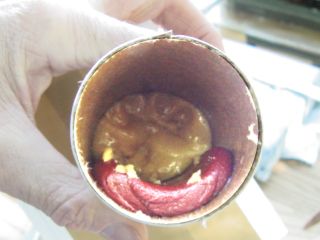
Two more globs are two are pressed in, so let's
take a look-see... The propellant is about halfway up the tube. Time to start the core. |
|
|
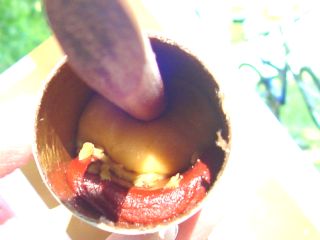
The coring rod is just a section of hardwood
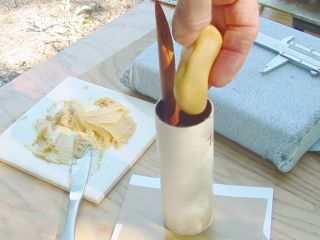
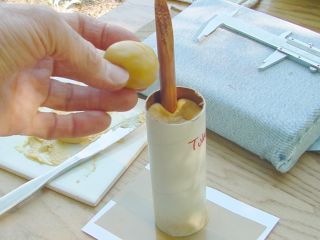
dowel which has been sanded and coated with vaseline. It is pressed down through the hot rcandy until it finds the bottom. This process also helps to compress the candy into crevices, I think. More rcandy is added and pressed around the coring rod. |
|
|
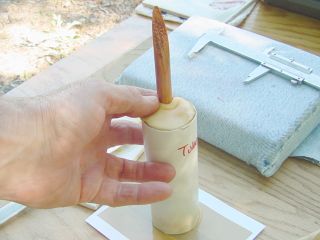
One final chunk is added to finish off the top
end. It is pressed by hand. I love this non-toxic propellant! As it cools, it gets less sticky and easier to handle. |
|
|
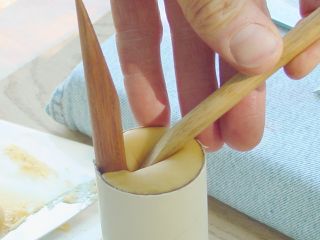
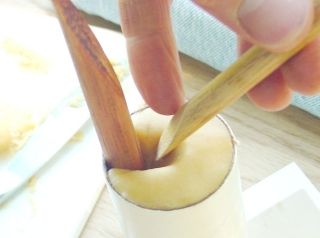
Another wooden dowel is used to make an angular
channel from mid-grain to the coring rod. This is to facilitate the ignitor going in, and hopefully coming out! |
|
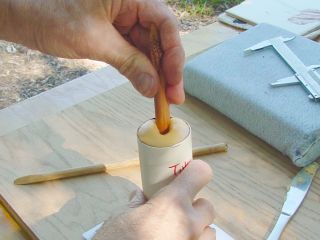
| The coring rod is twisted occasionally
to make sure it doesn't freeze up. But that is mostly habit - since I have started coating the wood with Vaseline, it never sticks anymore. |
|
|
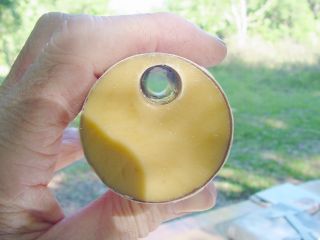
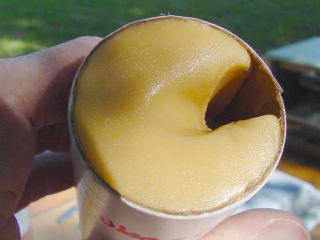
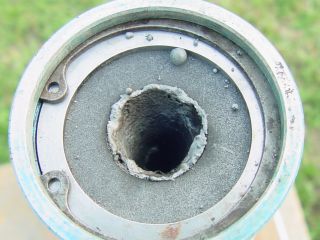
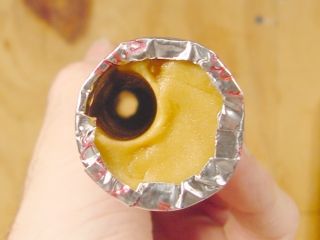
Nice, clean hole on the head end, odd-looking
crevice on the nozzle end but that is intentional. |
|
|
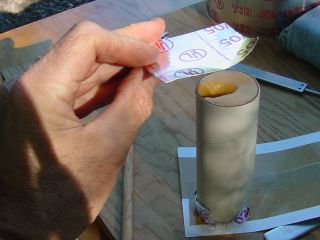
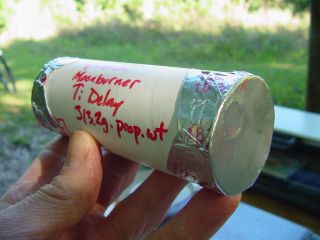
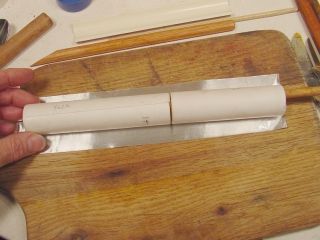
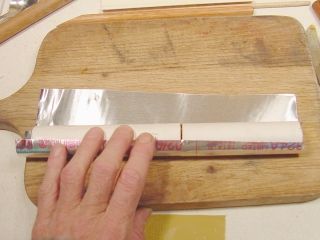
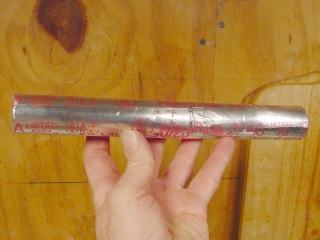
Since I can't fire this one right away, I will
seal it with aluminum-foil tape. Hopefully it will still be dry when I finally get to use it. |
|

|
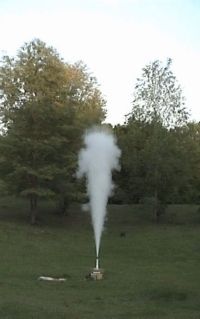
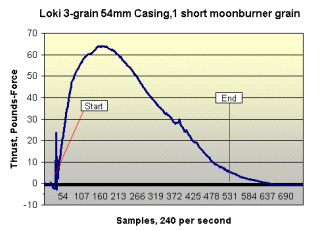
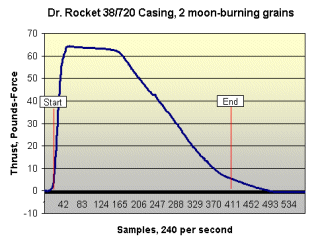
Here is one just like it I fired the other day. The photos below are at 1/2 second intervals. Click here for analysis and video of this test. |


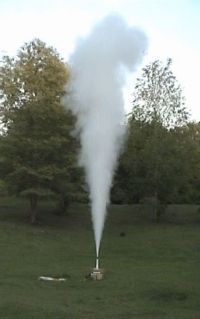
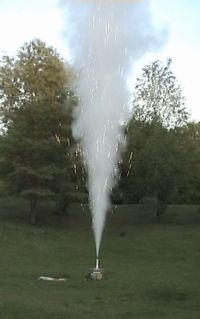
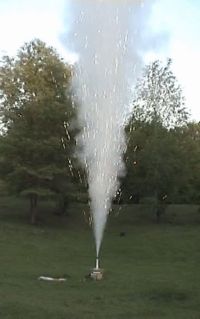

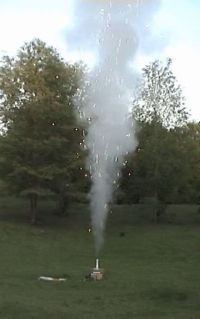
Static Test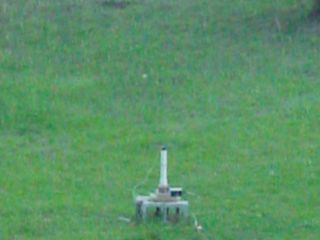

|


